Showing posts with label electric guitar building. Show all posts

Wednesday, November 14, 2012

Envirocaster #22 Is DONE!!

And I'm spent! This one had a few challenges. First a cracked neck. Then, the new neck sat too low in the body necessitating a recessed bridge. All in all, it was a lot of work, but man did it turn out nice. I'll be sad to part with this one. Check it out:

Everything about this one is low-profile.

I had to hand chisel the recess for the bridge.

Monday, November 12, 2012

What Every Luthier Loves To See...

...another finished guitar on its way to a new owner!

This one is headed to New Hampshire
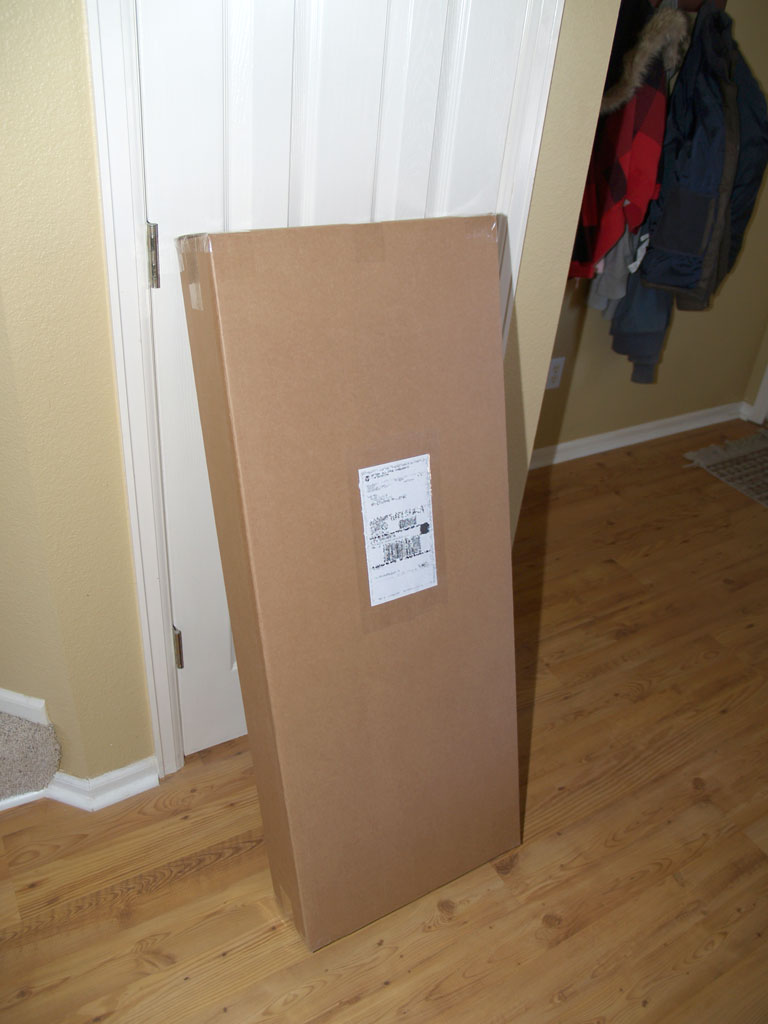
If it is close to the door, it's almost done!

Tuesday, October 30, 2012

Tuesday Morning Guitar Porn

Here are two reasons I love building guitars:

Both have three coats of clear Target Coatings EM6000 gloss water-based lacquer. Many more to go.

Tuesday, October 16, 2012

Today's Guitar Building Progress...

...has been slow and tedious. Right now, I am focused on touching up the finish. Patience is the key!

Both of these guitars are about to be treated to numerous coats of Tru-Oil.

This one is done and hanging up to fully dry.

Friday, May 18, 2012

Thursday, May 17, 2012

Filling The Grain On An Ash Guitar Body

I use a mixture of wallboard joint compound and black acrylic paint to fill the grain on this Ash body.

After the filler had dried, I sanded off the excess with some 150 grit paper. The next step will be to apply some translucent dye. I'll probably go with red on this one. Stay tuned!

Monday, April 30, 2012

Preparing The Body Blanks

For the next round of Envirocasters, I've decided to make the bodies out of Northern Ash. Northern Ash is much harder and heavier than Swamp Ash, however, it is way cheaper and easier to come by. Also, IMO, it has better tone and longer sustain. To reduce the weight, I drilled some 1 inch diameter holes into the glueing edge about 2 inches deep. The bodies still won't be as light as a Swamp Ash version, but I'm hoping each will be around 6 lbs. After I cut out the shapes and rout the pockets, I'll put them on a scale to see where they end up. Stay tuned!


Tuesday, April 24, 2012

The Next Round Of Guitar Builds

I've sold out my current batch of Envirocaster guitars, so it's time to get cranking on the next round. The plan is to build 4 guitars at the same time and hopefully have them ready for sale mid summer. This will be tough to do as my freelance graphics business has me jumping and to top it off, I am training for an Ironman triathlon that will take place on June 24th in Coeur D'Alene, Idaho.

The process began today with the fretboards. After cutting the blanks from a slab of Flamed Maple, I carved the radius (12") for each, cut the fret slots, trimmed the boards to shape and drilled the marker holes.


In the next day or so, I hope to pick up a 1/4" Walnut dowel to be used for the markers and some Alder for the body blanks. Building 4 guitars at the same time will be a challenge, but I should be able to do it without any problems. Stay tuned!

Wednesday, March 14, 2012

Two Cool Guitar Finishes

This double cutaway features a hand rubbed tung oil finish
This single cutaway features red dye and a water-based acrylic lacquer finish
The necks for both of these guitar projects are finished with hand rubbed tung oil


Friday, March 2, 2012

Routing An Electric Guitar Control Cavity

The photos that follow show how I like to rout out the control cavity for an electric guitar:

I use a template in conjunction with a 1/2" diameter, 1" long pattern trimming router bit to rout the pocket. The depth is within a 1/4" of the front of the guitar.
This is the template I use to make recessed cover shelf.
To rout the recessed cover shelf, I use a bushing guide with a 3/8" straight bit.
The router in action as I cut the recess for the cover. The depth is about 1/8" below the back surface.
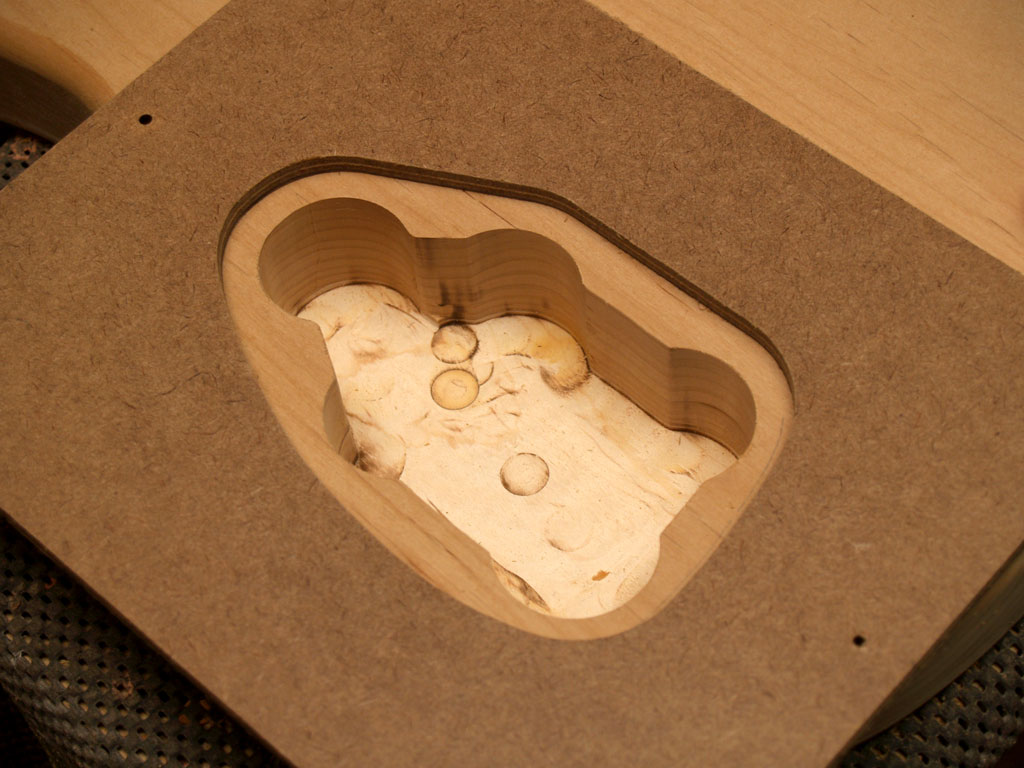
All that's left to do is drill the holes for the switch and pots and make the cover.

Tuesday, February 28, 2012

Cutting Out An Envirocaster DC Body

Today, I made a couple of Envirocaster bodies. Here are some photos of how one came to life:

I used a template made for me by Ronny at guitarbuildingtemplates.com.

The body is Alder with a flamed Maple top.

I used a Wagner Safety Planer to thin the body from 2" down to 1-3/4" thick.

To round over the edges, I used a 3/4" round over bit in my router.

Tomorrow, I will rout the control cavity and drill the jack and wiring holes.

Thursday, February 23, 2012

The Next Round Of Guitar Builds Is Underway

I call this luthier porn...

For those of you with a keen eye, all the necks in this photo are lefties.

Bocote. Love the grain!

One-piece Honduran Mahogany body. This one aint for sale.

Two Maple fretboards with Walnut marker dots flank a Wenge fretboard with mother-of-peal marker dots.

Tuesday, February 21, 2012

My Next Guitar Build: A Tomahawk Just For Me!

For my next build, I plan to make a no-holds barred Tomahawk. This one will be made from a one-piece slab of Honduran Mahogany with a bolt-on Bocote neck and a Wenge fretboard. Best of all, it'll be just for me.


Monday, February 20, 2012

A Great Guitar Is Only As Good As The Templates Used To Make It


I've said before that the quality of your build is directly linked to the quality of your templates. Cut corners here and you will see the results in a poorly shaped body and neck. One way to guarantee quality and save time is to have a set of templates made for you. I sent a copy of my vector plan to Guitar Building Templates and had owner Ronny cut a set for my new line of guitars. For a very reasonable price, he sent me templates for two guitars made out of a material that is much harder than the MDF boards I usually work with. Best of all, they were made on a CNC cutter, so the quality is perfect.

If you don't want to spend time making and perfecting your own templates, I encourage you to order a set from Ronny. Money well spent and precious time saved.


Friday, February 17, 2012

The First Envirocaster Guitar Is Almost Ready To Sell

All that's left to do is tune it up and set the intonation. Up next is the double cutaway version, which should be ready tomorrow. Hopefully, I can get both guitars up on ebay by Sunday or Monday.


Check out the way I oriented the pickups and ground the front edge of the bridge plate at an angle to match.
My goal was to put the bridge pup as close to the bridge as possible.


Sunday, February 12, 2012

Thinking Of A Guitar For Myself

I've sold just about every guitar I have ever made. All I have left is an acoustic and a Strat. Over the past couple of years, I have been saving up some wood for an over-the-top build for my own personal guitar. Flamed Maple, a one piece slab of Honduran Mahogany and check out this fretboard:

Lacewood

Saturday, January 28, 2012

One More Coat Of Lacquer, I SWEAR!!


Over the last three days, I sprayed my two Highline Envirocasters with a total of about 15 coats of water-based Target Coatings EM6000 Production Lacquer. After the first ten coats, I dry sanded with 220-400 grit in order to smooth out the surface. Then, I sprayed on an additional 5 coats. I did the same for the necks. Now I just have to let them sit for about 2 weeks before I can level sand and polish. My plan is to dry sand with 1,500 grit only before I take the bodies and necks to the buffing wheel. We'll see how it goes.

Friday, January 20, 2012

Progress On The Highline Envirocaster Double Cutaway


After sanding the body with 320 grit, I wiped on a couple of coats of General Finishes' Mahogany stain about 6 hours apart. As you can see, the stain really soaked into the grain and made it stand out nicely. Once the stain had dried overnight, I began wiping on the first of four coats of Formby's Gloss Tung Oil. The end result will be a semi-gloss sheen.

Thursday, January 19, 2012

A New Envirocaster Build

Actually, I have two Envirocasters under construction. One is a double cutaway and the other is a single. Check out the progress on the single:

I'm using Ash for the body. This shot was taken just after cutting the shape on my band saw.

This one will be fitted with a pair of my custom wound P90 pickups.

After brushing on some thinned Timbermate, I let it dry for a couple of hours and sanded off the excess with some 150-220 grit sandpaper.

Since Ash is an open-grained wood, the surface has to be filled and sanded smooth before any finish can be applied. This is how it looked after sanding off the excess Timbermate. It's much smoother now, but I can still feel some of the grain, which is the look I am after.

I like to use a thin coat of oil-based Minwax Natural stain as a pre finish. The reason for this step is it helps me to see any surface flaws (scratches, dings, etc.) before I apply the final stain. Once I am happy with how the surface looks, I'll lightly sand it with some 320 grit sandpaper and proceed with a darker finish stain.